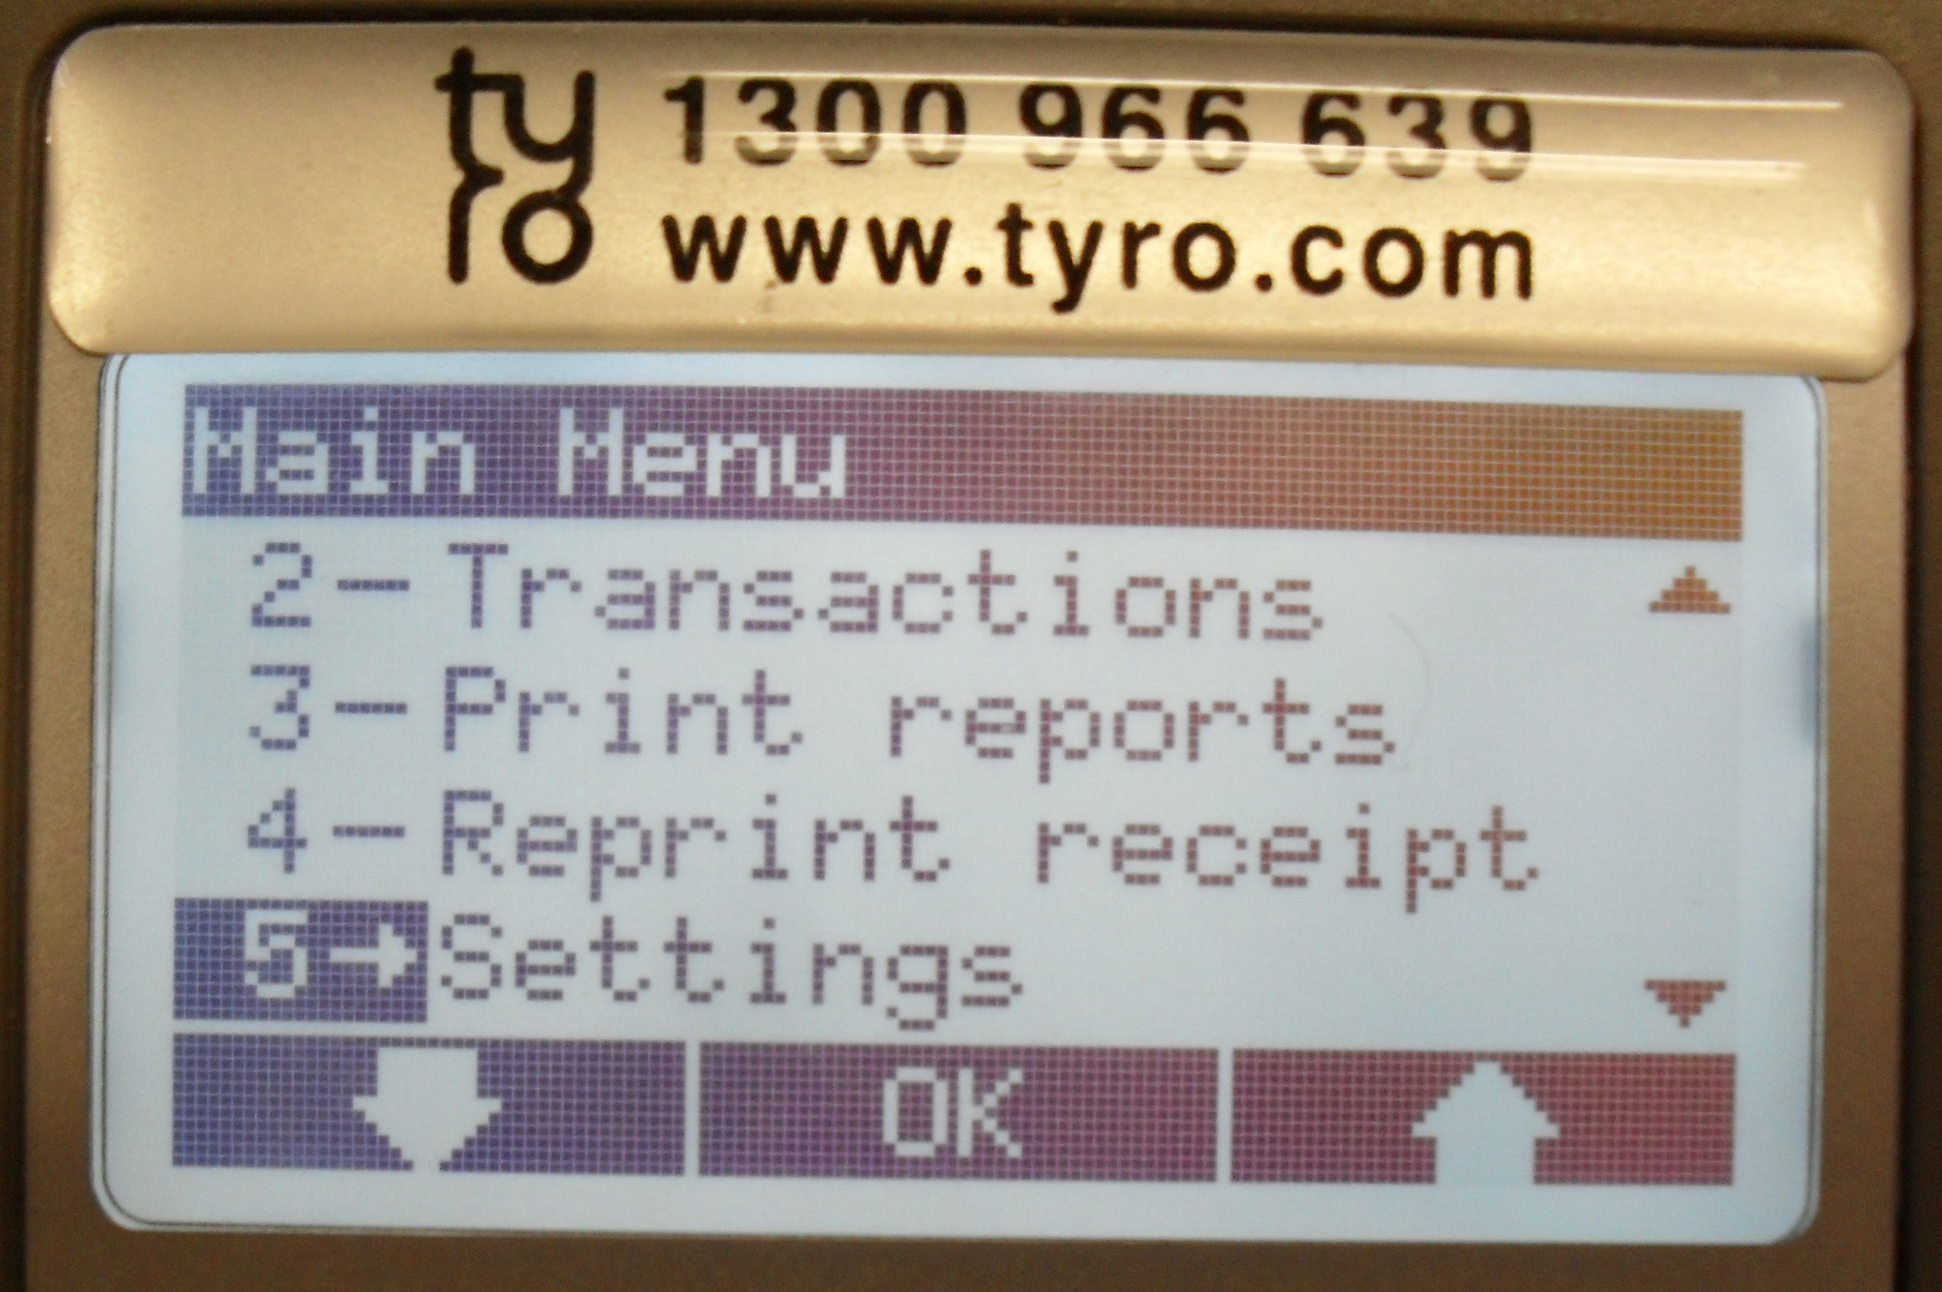
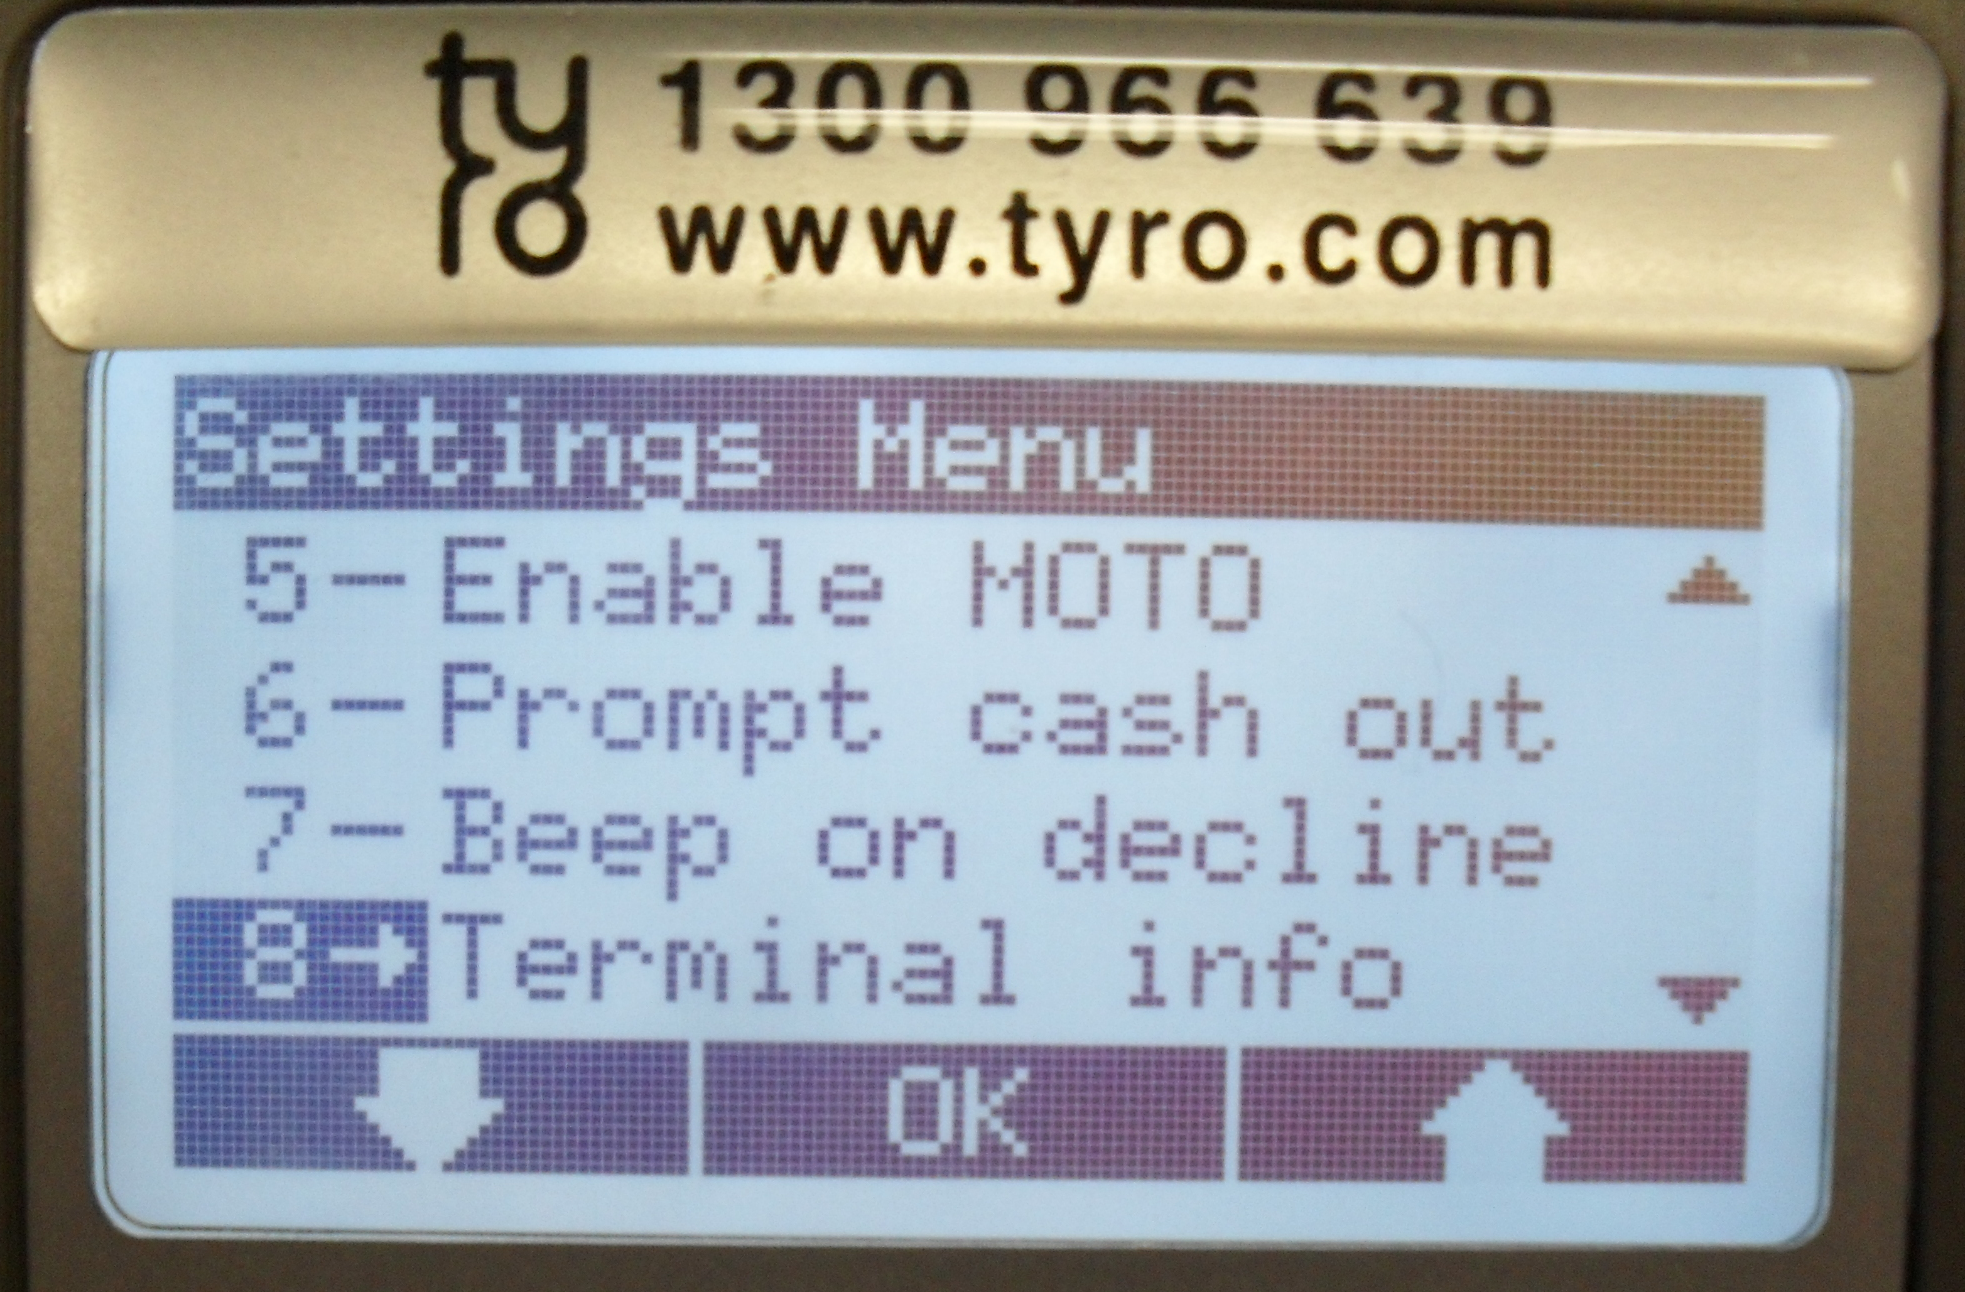
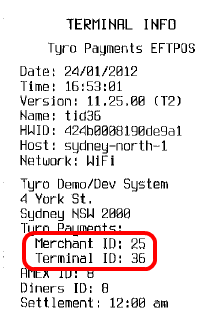
On the EFTPOS Terminal press Menu > Settings > OK > Terminal Info > OK.
The terminal will print all details including the Merchant ID and Terminal ID.
Tyro software can be accessed through the Windows Control Panel.
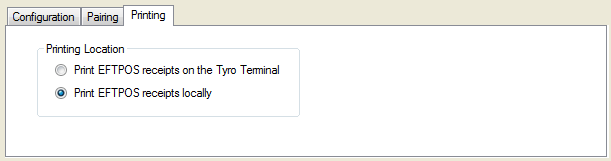
Click to open the Tyro Control Panel. There are 3 tabs used for the setup of the EFTPOS, Configuration, Pairing and Printing.
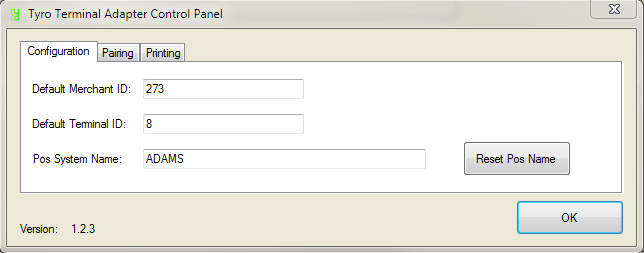
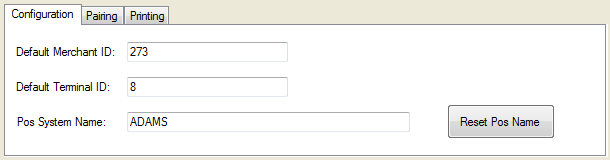
Enter the Default Merchant ID > Default Terminal ID > POS System Name (If not already entered).
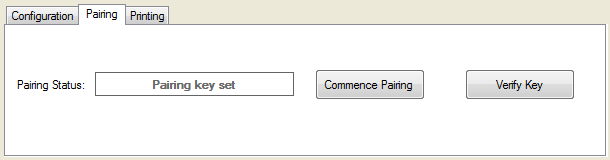
This will display the current Pairing Status. There are two buttons, one to Commence Pairing and one to Verify Pairing.
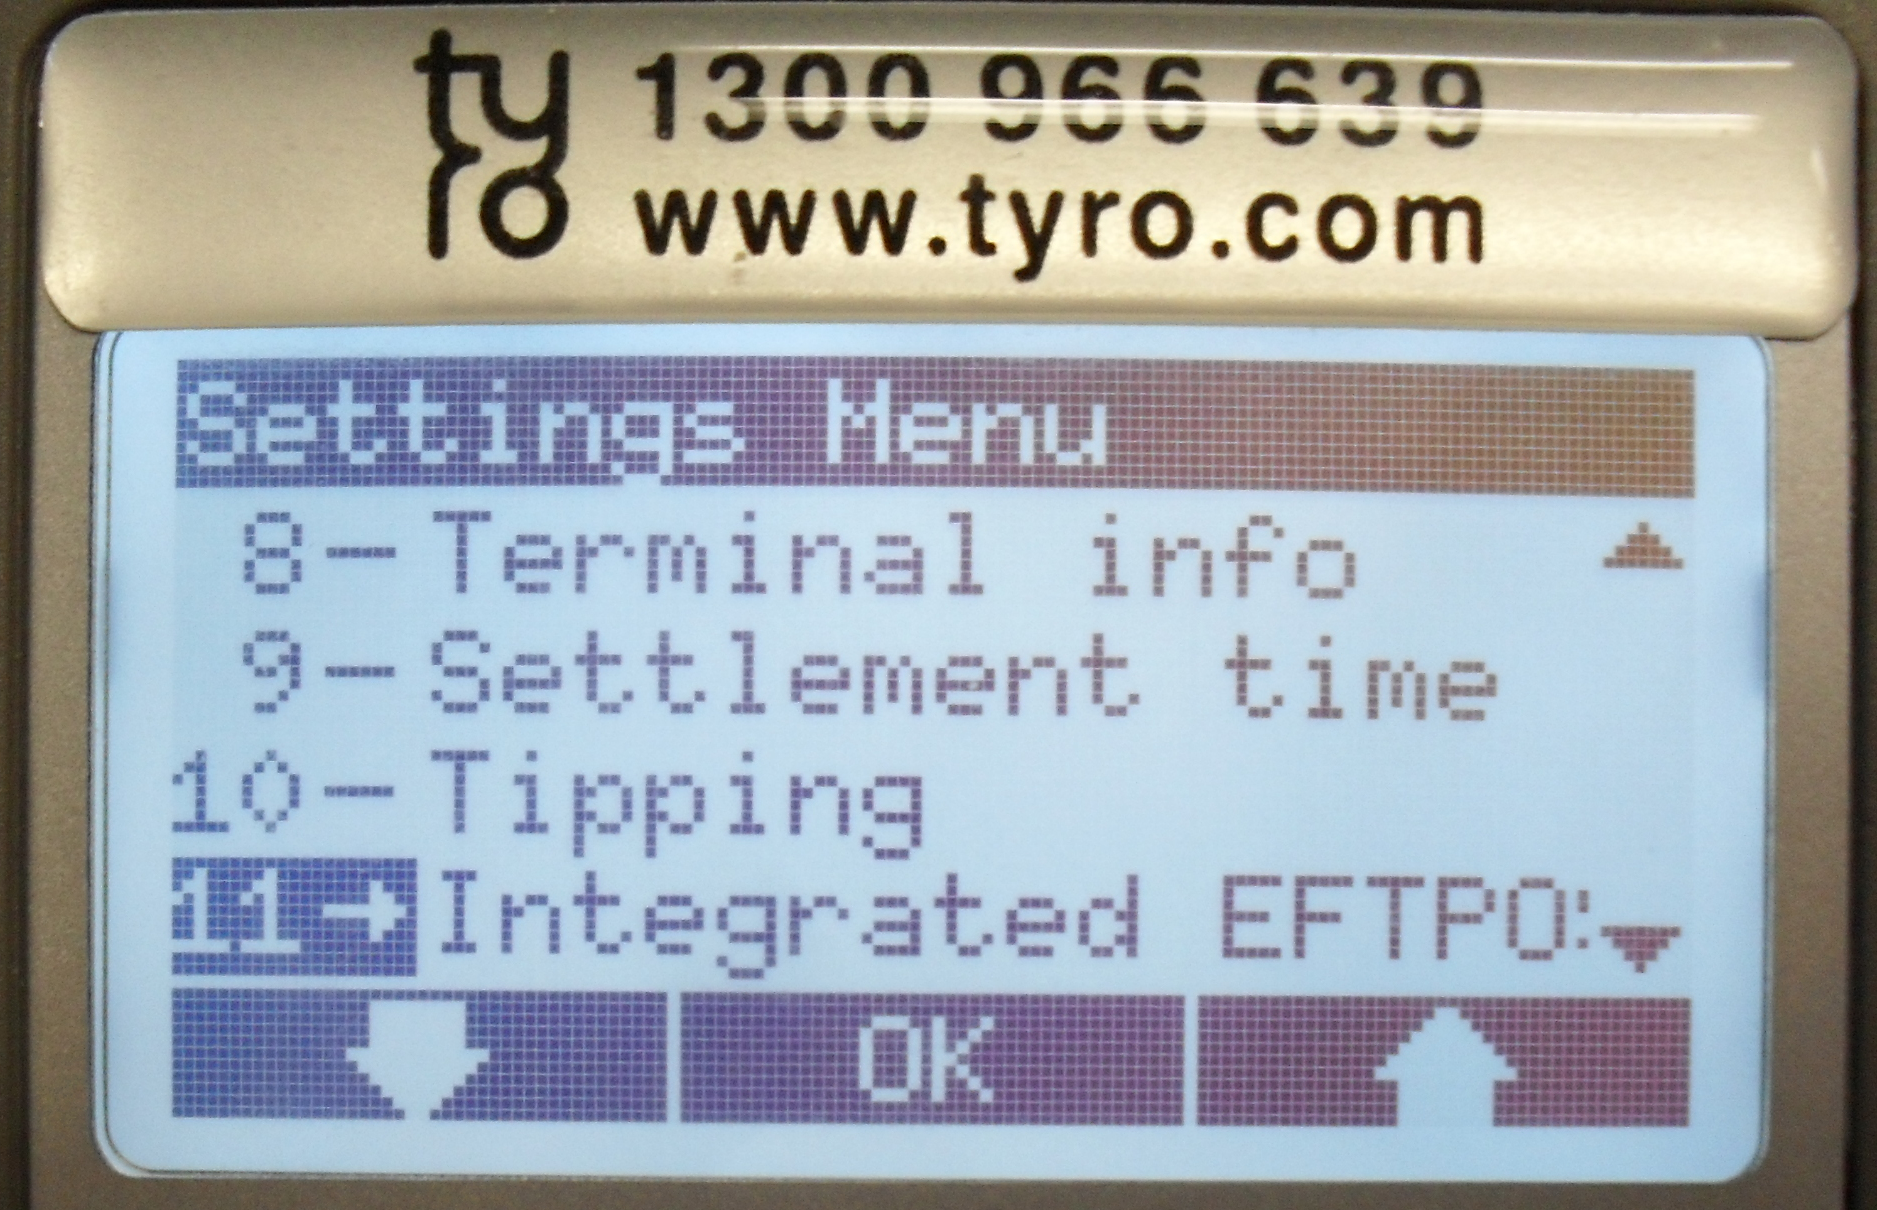
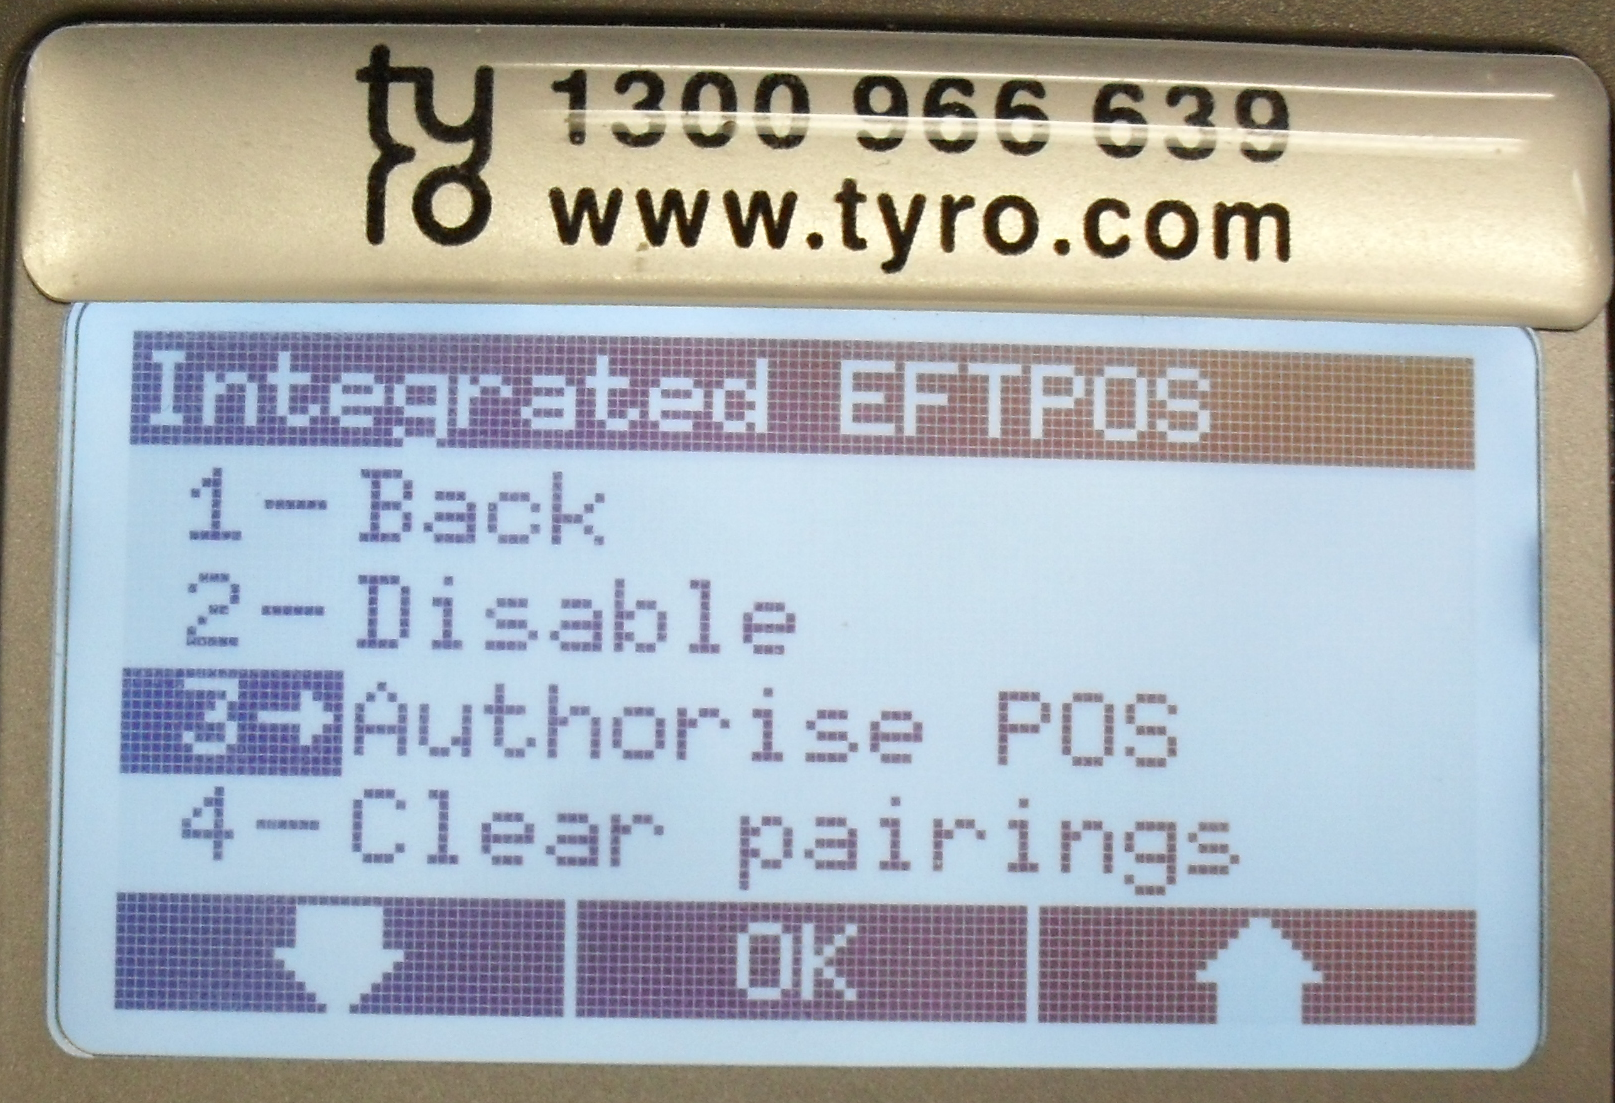
On the EFTPOS Terminal go to Menu > Settings > OK > Integrated EFTPOS > OK.
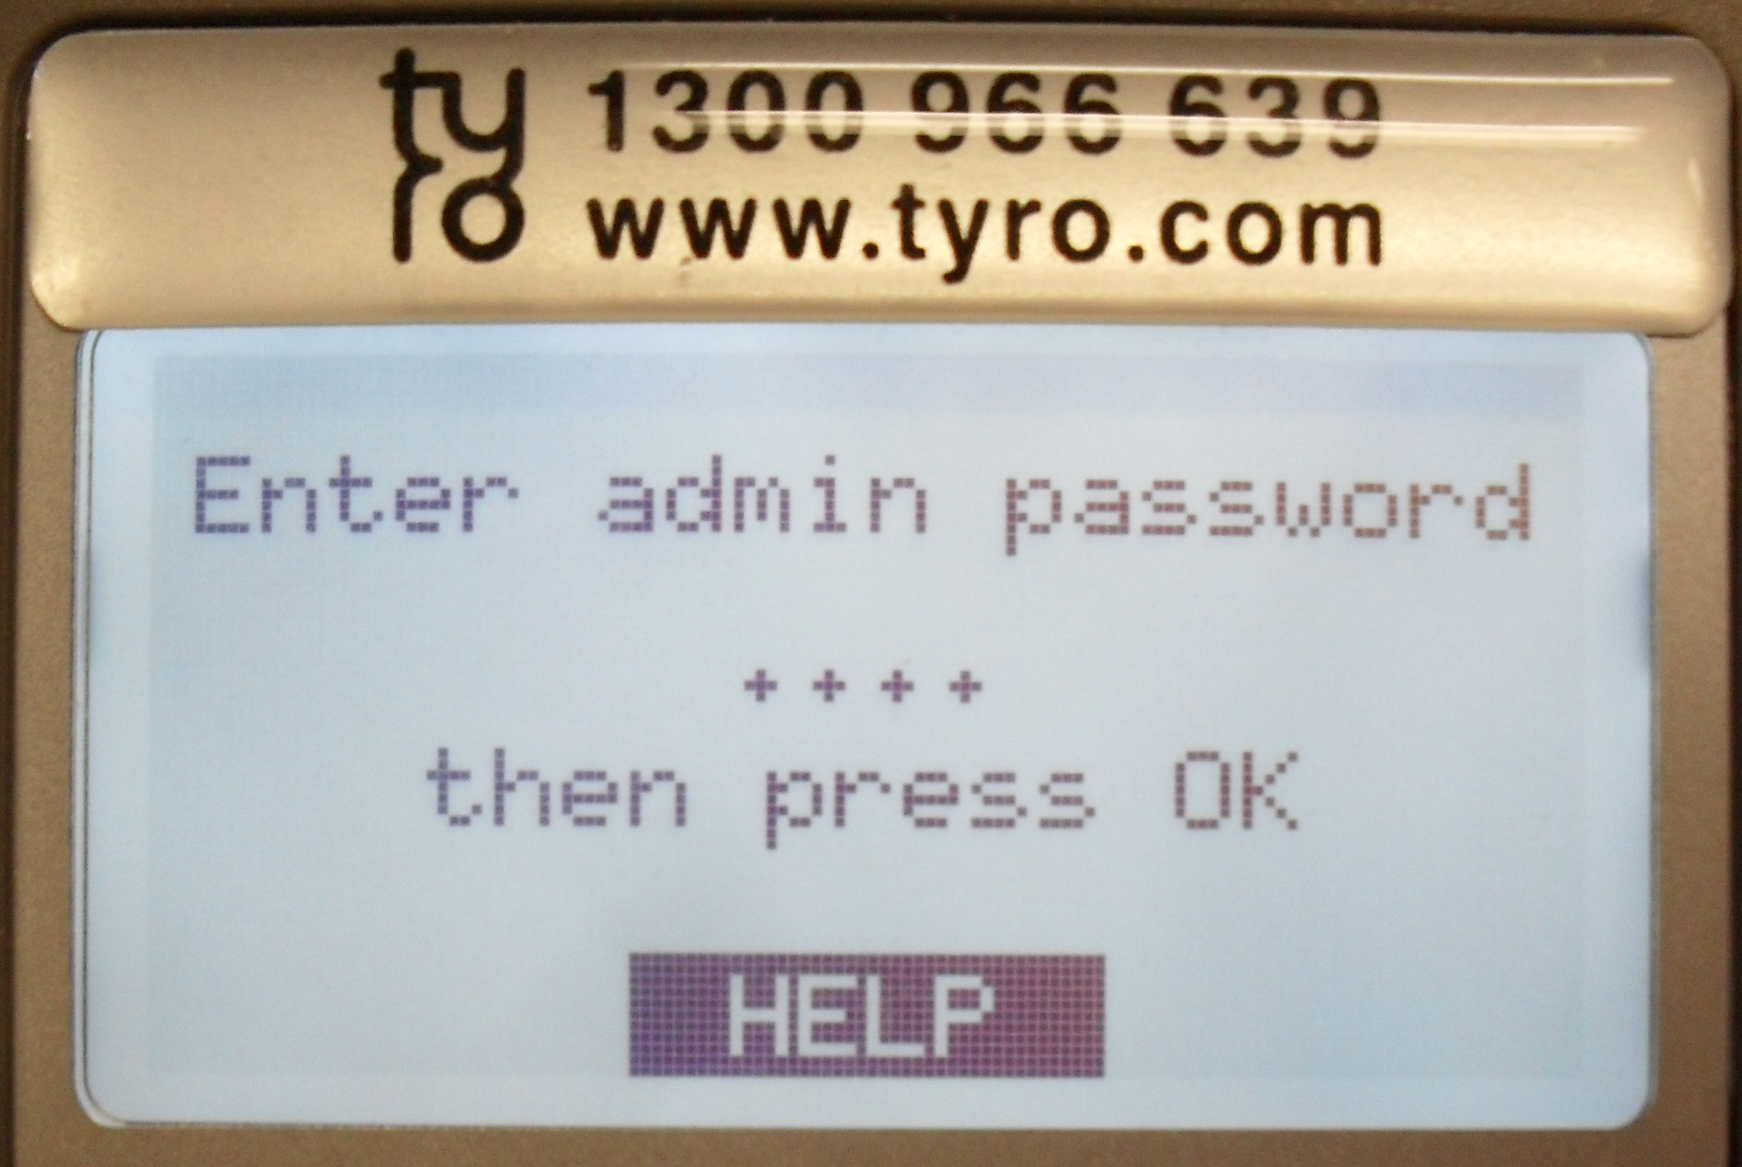
Authorise POS > OK > Enter the Admin Password TYRO > OK.
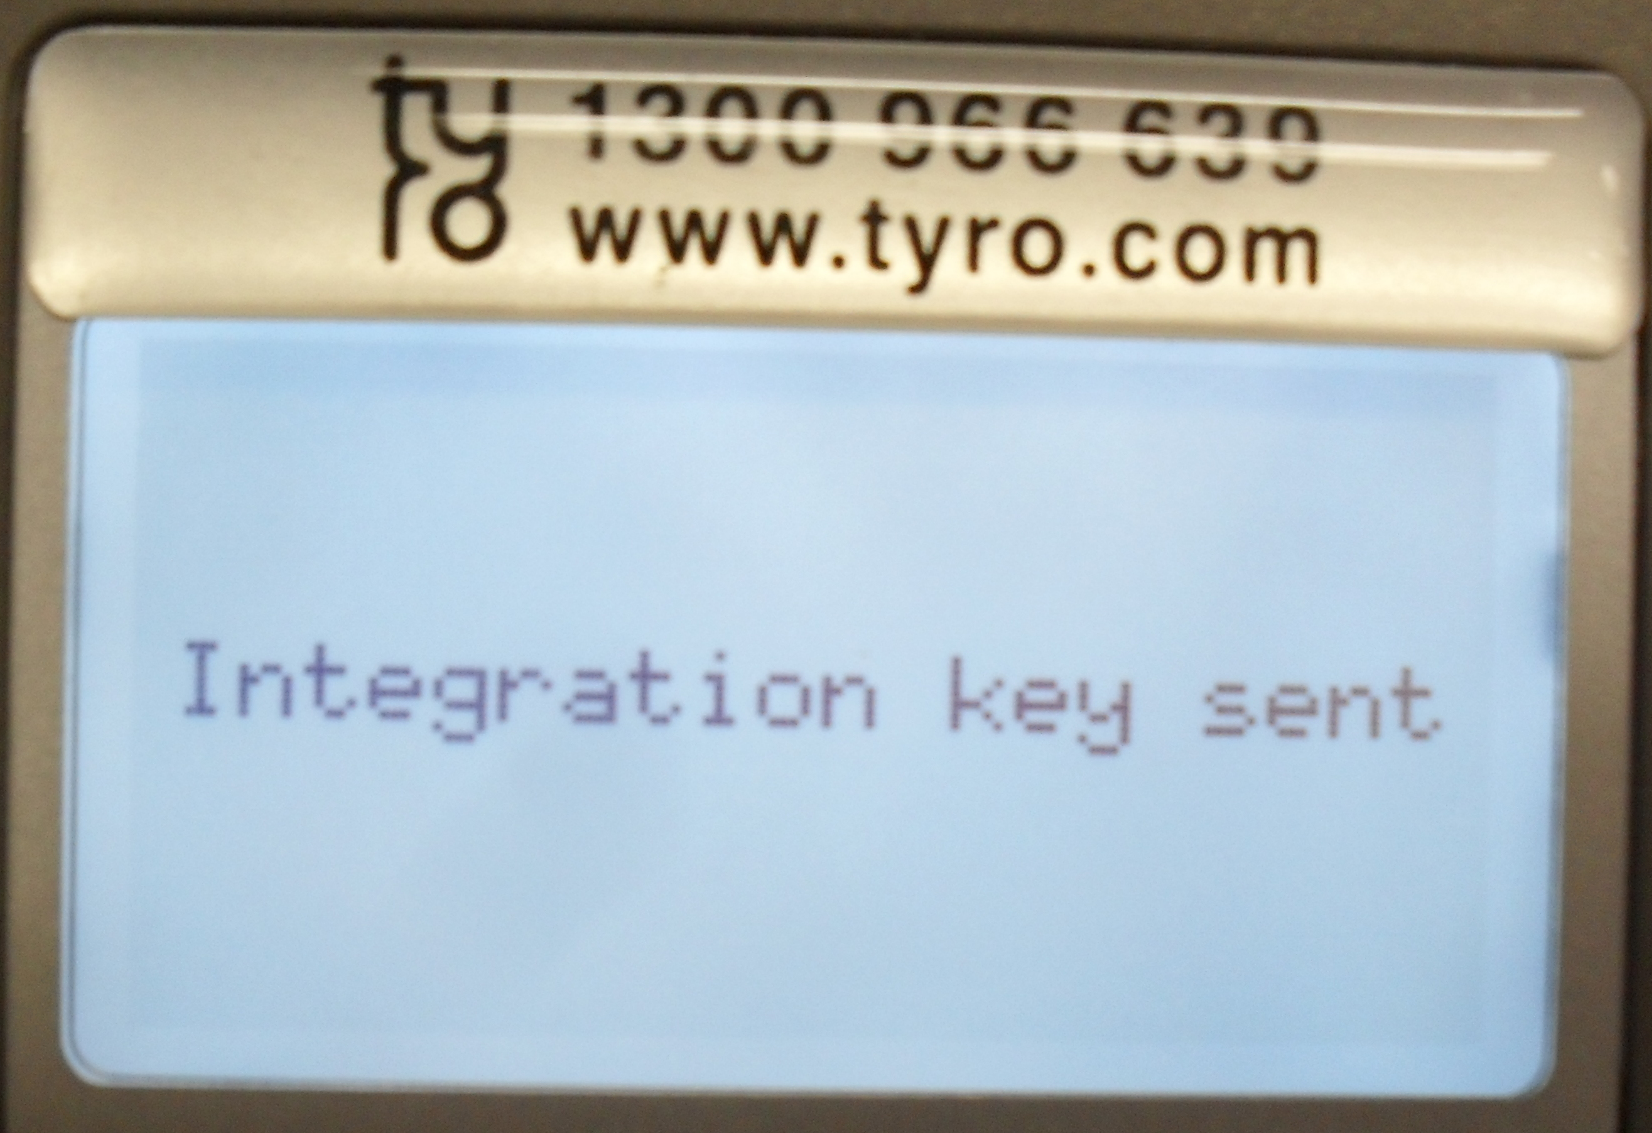
The key will be sent to the device. You must ensure the Tyro Pinpad is in the “Ready” mode otherwise you cannot Pair the device.
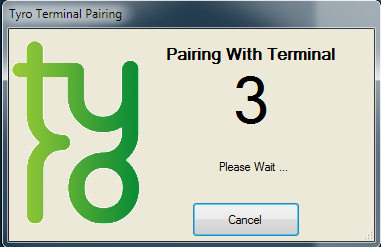
Select Commence Pairing and a new window will open. This sends a request to the Tyro data centre and back to the EFTPOS terminal. You have approximately 90 seconds to complete this setup.
Select from one of the two options. Print from the Tyro Terminal or from the Default Receipt Printer connected to the POS Terminal.